Post summary: How to create a custom .NET Core template, install it and create projects from it.
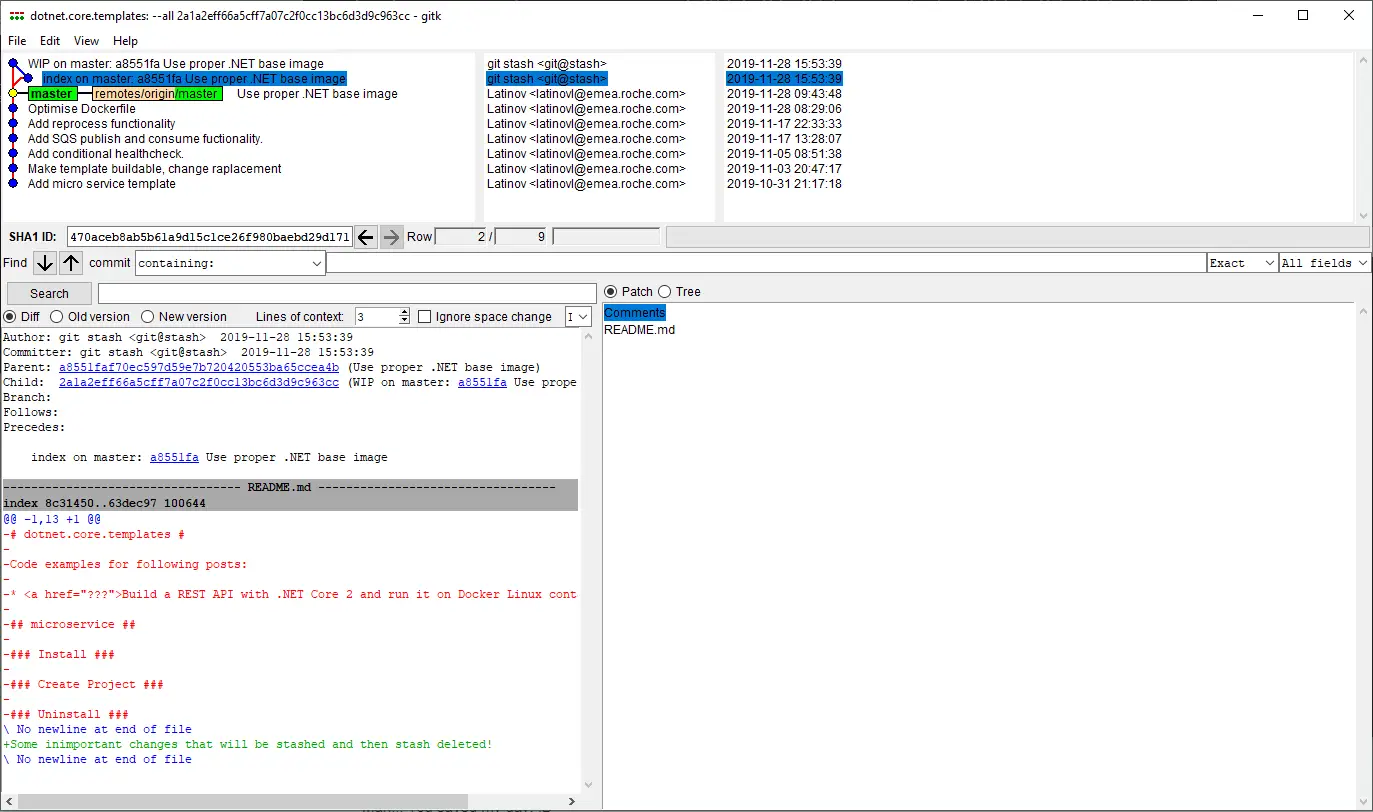
The code used for this blog post is located in dotnet.core.templates GitHub repository.
.NET Core
In short .NET Core is a cross-platform development platform supporting Windows, macOS, and Linux, and can be used in device, cloud, and embedded/IoT scenarios. It is maintained by Microsoft and the .NET community on GitHub. More can be read on .NET Core Guide.
Why .NET Core templates
When you create a new .NET Core project with dotnet new command it is possible to select from a list of predefined templates. This is a very handy feature, but out of the box templates are not really convenient, additional changes are required afterward to make the project fit for purpose. In a situation where many projects with similar structures are created, such as many micro-services, a custom template is very helpful. Users can define a custom template and easily create new projects out of it. In the current post, I will describe how to create an elaborate custom template.
Create template
What has to be done is just to create a project and customize it according to the needs. Once code is ready, a file named template.json located in .template.config folder should be added. The file should conform to http://json.schemastore.org/template JSON schema. See the file below, it is more or less self-explanatory. An important field is identity, which is basically the unique template name, it is not visible to users though. What is visible are name and shortName. ShortName is actually used when creating a project from this template: dotnet new shortName. Guids used in the template are defined in guids section in template.json file and they are replaced with a fresh set of guids on each project creation. More details on each and every possible option can be found in “Runnable-Project”-Templates page.
{
	"$schema": "http://json.schemastore.org/template",
	"author": "Lyudmil Latinov",
	"classifications": [
		"Common",
		"Code"
	],
	"identity": "dotnet.core.micro.service",
	"name": ".NET Core 3.0 micro-service",
	"shortName": "microservice",
	"tags": {
		"language": "C#",
		"type": "item"
	},
	"guids": [
		"9A19103F-16F7-4668-BE54-9A1E7A4F7556"
	]
}
This is it, the template is now ready to be installed and used.
Install template and create project
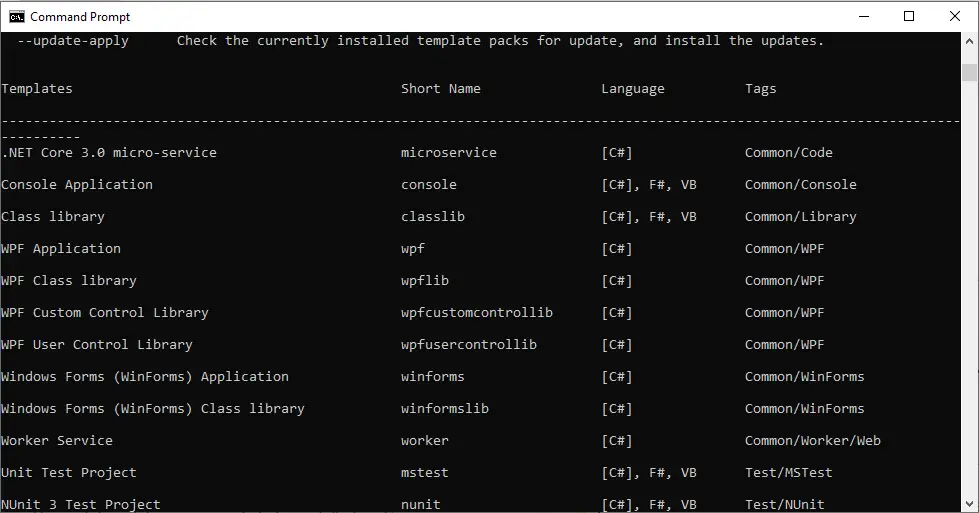
The template is installed with dotnet new -i <PATH_TO_FOLDER>. Once the template is installed dotnet new command lists it along with all predefined templates.
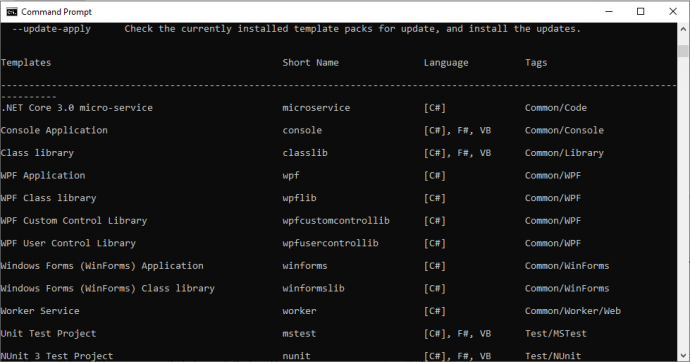
Creating a project is similar as it is created from standard templates: dotnet new <SHORT_NAME>, dotnet new microservice in this example.
Uninstalling of a template is done with dotnet new -u <PATH_TO_FOLDER> command. There is another command which uninstalls all custom template from the system: dotnet new –debug:reinit.
Replace project name
A custom template is a very handy thing and I would like to go one step further in making this template more flexible. When a new project is created it is good to have a proper name, which is reflected in the file names, folders’ names and into the namespace. For this reason, a custom replace task can be added to the template definition. A placeholder PROJECT_NAME is added to namespaces, Dockerfile, folder names, solution file name, and .csproj files names. This is done by adding and external required parameter in symbols section of template.json file. On project creation, this parameter is provided with value, which gets replaced in files content and file names.
{
	"$schema": "http://json.schemastore.org/template",
	...
	"symbols": {
		"ProjectName": {
			"type": "parameter",
			"replaces": "PROJECT_NAME",
			"FileRename": "PROJECT_NAME",
			"isRequired": true
		}
	}
}
When dotnet new microservice -h is executed it outputs the possible parameters that are needed to create a project from this template:
.NET Core 3.0 micro-service (C#)
Author: Lyudmil Latinov
Options:
  -P|--ProjectName
                    string - Required
Now, the project cannot be created without providing this parameter. Command dotnet new microservice returns error Mandatory parameter –ProjectName missing for template .NET Core 3.0 micro-service. The proper command now is dotnet new microservice –ProjectName SampleMicroservice.
Conditional files and features
So far template is much nicer and looks more real. It can be also further enhanced. For e.g. there are two major types of projects needed. One option is to have two separate templates, which means maintaining two templates. Another option, in case of insignificant differences, is to have conditional functionality added based on a parameter during template creation. A boolean parameter is added into symbols section of template.json file. Another thing to be done is to exclude files depending on this parameter. This is done in the sources section of template.json file.
{
	"$schema": "http://json.schemastore.org/template",
	...
	"symbols": {
		...
		"AddHealthChecks": {
			"type": "parameter",
			"datatype": "bool",
			"defaultValue": "false"
		}
	},
	"sources": [
		{
			"modifiers": [
				{
					"condition": "(!AddHealthChecks)",
					"exclude": [
						"src/**/HealthChecks/**",
						"test/**/Client/HealthCheckClient.cs",
						"test/**/Tests/HealthCheckTest.cs"
					]
				}
			]
		}
	]
}
Customize parameters switches
If you add several of those parameters, then .NET gives them an automatic name, which may not be very meaningful. So the names of those can be customized. In the example here, which is located in dotnet.core.templates GitHub repository, the default parameter names are (dotnet new microservice -h):
.NET Core 3.0 micro-service (C#)
Author: Lyudmil Latinov
Options:
  -P|--ProjectName
                         string - Required

  -A|--AddHealthChecks
                         bool - Optional
                         Default: false / (*) true

  -Ad|--AddSqsPublisher
                         bool - Optional
                         Default: false / (*) true

  -p:A|--AddSqsConsumer
                         bool - Optional
                         Default: false / (*) true


* Indicates the value used if the switch is provided without a value.
Short names like -p:A, -Ad does not seem too convenient. Those can be easily customized by adding dotnetcli.host.json file into .template.config folder:
{
	"$schema": "http://json.schemastore.org/dotnetcli.host",
	"symbolInfo": {
		"ProjectName": {
			"longName": "ProjectName",
			"shortName": "pn"
		},
		"AddHealthChecks": {
			"longName": "AddHealthChecks",
			"shortName": "ah"
		},
		"AddSqsPublisher": {
			"longName": "AddSqsPublisher",
			"shortName": "ap"
		},
		"AddSqsConsumer": {
			"longName": "AddSqsConsumer",
			"shortName": "ac"
		}
	}
}
Now options are much different:
.NET Core 3.0 micro-service (C#)
Author: Lyudmil Latinov
Options:
  -pn|--ProjectName
                         string - Required

  -ah|--AddHealthChecks
                         bool - Optional
                         Default: false / (*) true

  -ap|--AddSqsPublisher
                         bool - Optional
                         Default: false / (*) true

  -ac|--AddSqsConsumer
                         bool - Optional
                         Default: false / (*) true


* Indicates the value used if the switch is provided without a value.
Conclusion
.NET Core provides an easy and extensible way to make project templates, which are stored and maintained under version control and can be used for creating new projects. Those templates can be project-specific, product-specific, company-specific.
Related Posts