Post summary: Short introduction to the application under test that is created for and used in all Cypress examples. It is React frontend created with Create React App package. Backend is a Node.js application running on Express.
This post is part of a Cypress series, you can see all post from the series in Testing with Cypress – lessons learned in a complete framework. Examples code is located in cypress-testing-framework GitHub repository.
Backend
The backend is a simple Node.js application build with Express web server. It supports several APIs that can save a person, get a person by id, get all persons or delete the last person in the collection. You can read the full description in Build a REST API with Express on Node.js and run it on Docker post.
Frontend
Current post is mainly devoted to the frontend. It described how the React application is built. In order to make this part easy, Create React App is used. The best thing about it is that you do not need to handle lots of configurations and you just focus on your application. In order to create an application, Create React App has to be installed as a global NPM package with npm install -g create-react-app. The application itself is created with create-react-app my-application-name. Once this is done you can start building your application. See more details on application creation in How to Create a React App with create-react-app. I have added Bootstrap for better styles and Toastr for nicer notifications. I also use Axios for API calls. I am not going into details about how to work with React as this is a pretty huge topic and I am not really expert at it. You can inspect the GitHub repository given above of how controllers are structured.
Instrumented for code coverage
After having the application ready I wanted to add support for code coverage. The tool used to measure code coverage is Istanbul. Because of Create React App, adding the configuration is not straight-forward as practically there is no webpack.config.js file, it is hidden.
One option is to eject the application. Maybe for a big project where you need full control over the configurations, this is OK, but for this small application, I would not want to deal with it.
Another option is to use a package that builds on top of Create React App. One such plugin is react-app-rewired. It is installed along with istanbul-instrumenter-loader, the actual code coverage plugin. Once those two are installed the actual configuration is pretty simple. A file named config-overrides.js is created with the following content:
const path = require('path');
const fs = require('fs');

module.exports = function override(config, env) {
  // do stuff with the webpack config...
  config.module.rules.push({
    test: /\.js$|\.jsx$/,
    enforce: 'post',
    use: {
      loader: 'istanbul-instrumenter-loader',
      options: {
        esModules: true
      }
    },
    include: path.resolve(fs.realpathSync(process.cwd()), 'src')
  });
  return config;
};
Also, package.json has to be changed. The default react-scripts start/build/test is changed to react-app-rewired start/build/test. In order to verify that code coverage is enabled, go to Dev Tools (hit keyboard F12), then go to Console and search for __coverage__ variable.
Dockerization
In order to make it easy to run a Dockerfile has been added. It installs Yarn as a package manager, then copies package.json. Important is to copy yarn.lock as well since the actual dependencies are in it. If this is not copied, every time an install is run it will pick the latest dependencies, which may lead to instability. Then the installation of dependencies is done with command yarn, short for yarn install. Finally, all local files are copied. This is done in the end so installation is not triggered on every file change, but only on package.json or yarn.lock change.
FROM node:8.16.0-alpine

ENV APP /app
WORKDIR $APP

RUN npm install yarn -g

COPY package.json $APP
COPY yarn.lock $APP
RUN yarn

COPY . .
The docker-compose.yml file is also very simple. It has two services. The first is the backend which is exposed to 9000 port of the host. This is needed because Cypress tests directly access the APIs. It uses the image uploaded to the Docker hub repository: image: llatinov/nodejs-rest-stub. The second service is the frontend. It uses local Dockerfile: build: .. When frontend container is started yarn start command is executed and is exposed to port 3030 of the host machine. One more thing, that is added as configuration, is the backend API URL that can be controlled by setting API_URL environment variable, which then is set to REACT_APP_API_URL, used by the frontend. If no API_URL is provided then the default of http://localhost:9000 is taken.
version: '3'

services:
  backend:
    image: llatinov/nodejs-rest-stub
    ports:
      - '9000:3000'
  frontend:
    build: .
    command: yarn start
    environment:
      - REACT_APP_API_URL=${API_URL:-http://localhost:9000}
    ports:
      - '3030:3000'
Run the application
There are several ways to run the application under test in order to try Cypress examples. One way is to download both repositories of the backend and the frontend and run them separately.
Second is to run the backend with Docker command docker run -p 9000:3000 llatinov/nodejs-rest-stub. The command maps the 3000 port of the container to 9000 port of the host, this is where the APIs are available. I have uploaded the backend image to the public Docker hub repository. After backend is running, the frontend is run with yarn start command. In this case, frontend is running on port 3000, so you have to adjust the proper URL in the Cypress configurations.
The third option is to run with docker-compose with docker-compose up command. This runs the backend on port 9000 and the frontend on port 3030.
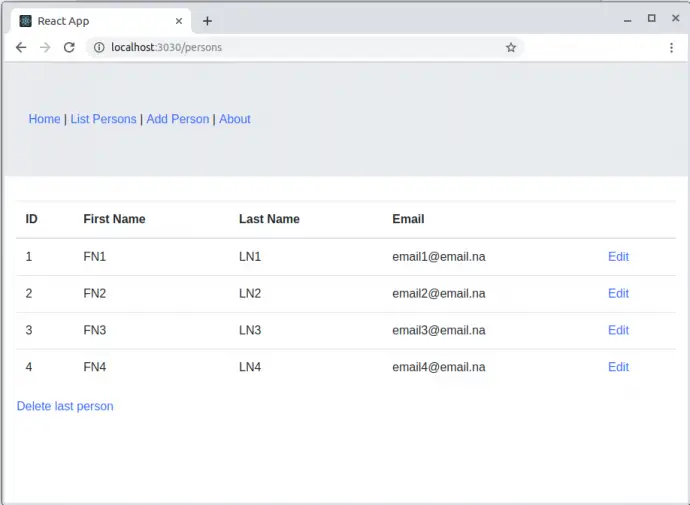
Functionality
The application is very simple, it has few pages where user can add a person or see already existing persons in the backend. On each successful action, there is a notification, in case of a network error, a message is shown.
Persons list
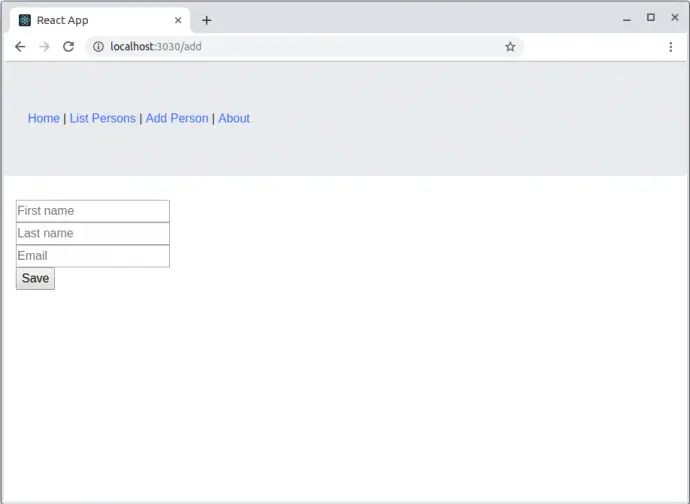
Add person
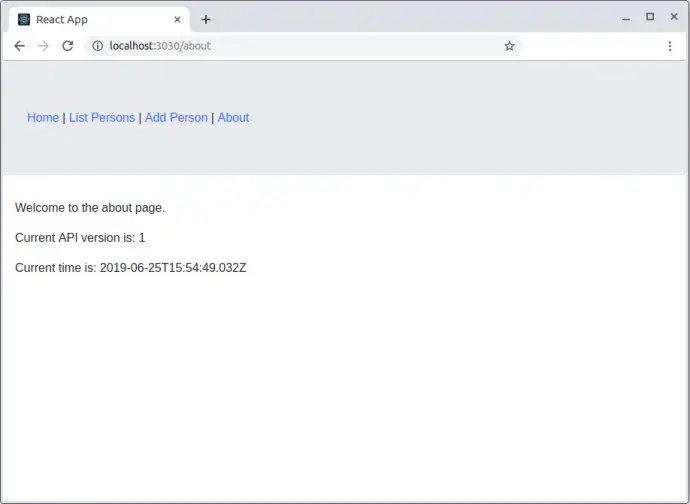
Version page
Conclusion
In order to demonstrate the Cypress examples, a separate React application with a backend is created with Create React App package. It is also configured to support code coverage with Istanbul.