Post summary: Details how to install Ubuntu Linux on Windows 10 and some reasons why to do it.
Why
I will first start with some examples why would you need Linux. So far in my career, I’ve been writing code only on Windows and did not have issues with that, except three cases where Linux was really needed.
Git keeps file permissions
I had a Linux continuous integration agent (GoCD which I do not like very much, but this is another topic) that runs some build commands from a Bash script located inside project’s Git repository. By default Windows creates those scripts with read-only rights, so GoCD was not able to execute them. While Git Bash is in great help to run and test those scripts on Windows platform it cannot help to manage their permissions. The only solution was to clone project on Linux, modify file permissions and commit them back.
Developing Java applications to be run on Linux
Another reason to have Linux is if you develop Java applications that are going to be hosted on Linux. Java has different implementations for Path interface: WindowsPath and UnixPath. While Windows is smart enough to work with ‘/’, WindowsPath is not. So it is a little nightmare when you develop on Windows application that is doing manipulations on files and will be hosted on Linux. Having a fast and reliable build and deployment infrastructure can help overcome this problem with trial and error approach, but having local Linux might speed up development.
Connect to a running Linux Docker container
Connecting to a running Linux container and execute commands in it is not really possible from CMD on Windows. This is why you will need Linux installed. Another thing is to Expose daemon on tcp://localhost:2375 without TLS in Docker, but this is separate topic.
How to install Linux on Windows 10
Whatever the reason is to get Linux running on your Windows 10 here are the steps to do it.
Install Windows Subsystem for Linux (WSL)
Windows Subsystem for Linux (WSL) is a compatibility layer for running Linux binary executables (in ELF format) natively on Windows 10. In order to install it start PowerShell as administrator and run following command that will require a restart afterward:
Enable-WindowsOptionalFeature -Online -FeatureName Microsoft-Windows-Subsystem-Linux
Install Linux from Microsoft store
Open Microsoft Store app and search for Ubuntu. Open it, get it and install it. This is it
Install using lxrun
I find this more easy to follow. First, you have to enable developer mode: Settings -> Update and Security -> For developers. Then run following command and follow the steps:
lxrun /install
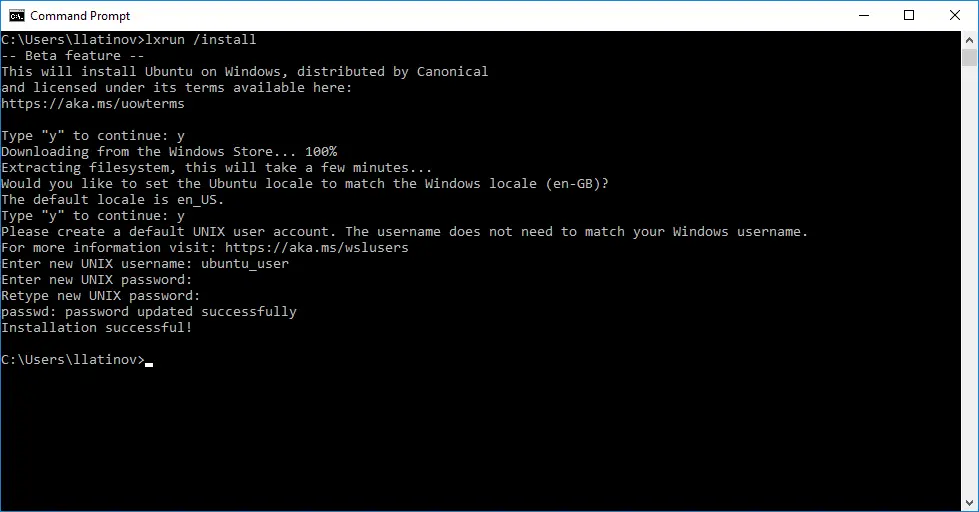
This is it!
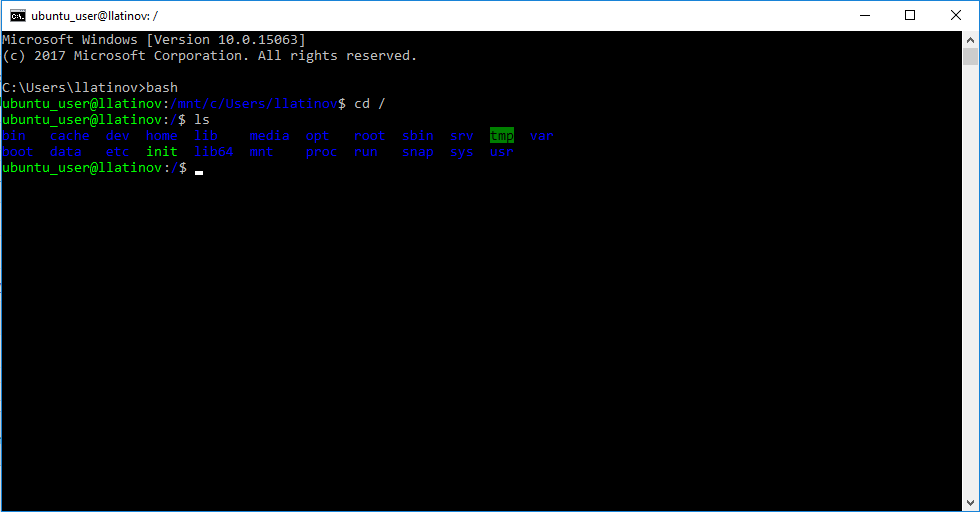
Using Linux on Windows 10
In order to access Linux installation, you need to run Command Prompt and type: bash. Now you are in Linux. Note that by default you are accessing /mnt/c/Users/{USERNAME} which is a link to the Windows file system. Changing file permission from the scenario above will not work here as well, you have to go to some other folder.
Good thing is that you have direct access to Linux file from your Windows 10. They are located in: %localappdata%\lxss\rootfs or in my case: C:\Users\llatinov\AppData\Local\lxss\rootfs.
In case you have installed Ubuntu from Microsoft Store, then files are located in %localappdata%\Packages\CanonicalGroupLimited.UbuntuonWindows_79rhkp1fndgsc\LocalState\rootfs folder.
Conclusion
Having Linux access directly on your Windows 10 workstation is a really nice feature you can very much benefit from.